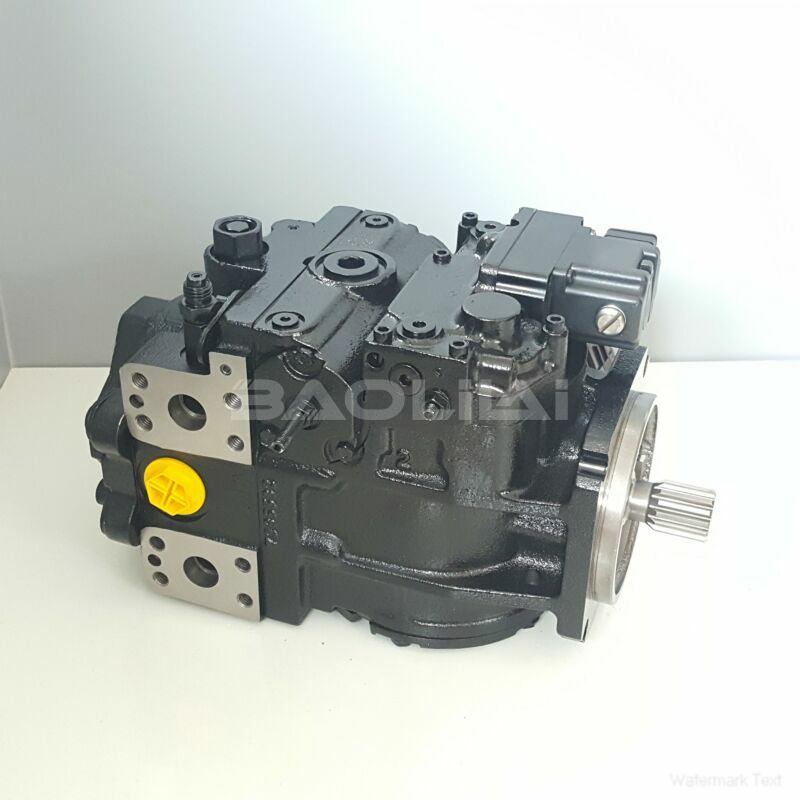
90R100HS2CD60P3F1E03GBA383824 hydraulic pump
90R100HS2CD60P3F1E03GBA383824 hydraulic pump

- Product Details
- Applicable Scene
Plunger pumps are widely used in various industries for their efficiency in handling high-pressure fluids. However, like any mechanical device, they are subject to wear and tear, particularly in seals and valves. Regular maintenance is crucial to ensure the longevity and efficiency of these pumps. This guide provides a detailed step-by-step process for replacing seals and valves in plunger pumps.
90-R-100-HS-2-CD-60-P-3-F1-E-03-GBA-38-38-24
90R100HS2CD60P3F1E03GBA383824
Preparation and Safety Measures

9622632C
Before starting any maintenance work, ensure that you have the necessary tools and safety equipment. This typically includes gloves, goggles, and wrenches. Also, ensure that the pump is powered down and disconnected from any power source to prevent accidental operation during the maintenance process.
Gather Necessary Tools and Parts
Collect all tools needed for the job, such as screwdrivers, pliers, a torque wrench, and replacement seals and valves. Consult the pump’s manual for specific parts and specifications required for your model.
Drain Pump and Flush
Before disassembling the pump, drain any fluids from the system. If necessary, flush the pump with a compatible solvent to remove any residual fluids that could contaminate the new seals or valves.
Disassemble the Pump
Carefully remove the outer casing of the pump using the appropriate tools. Keep track of all screws and parts to avoid losing them. Take pictures during disassembly to help reference how to reassemble.
Remove Old Seals and Valves
Once the pump is disassembled, locate the seals and valves. Use pliers to gently remove old seals, and take care not to damage the seating surfaces. For valves, unbolt or unscrew them from their housings.
Inspect Components


